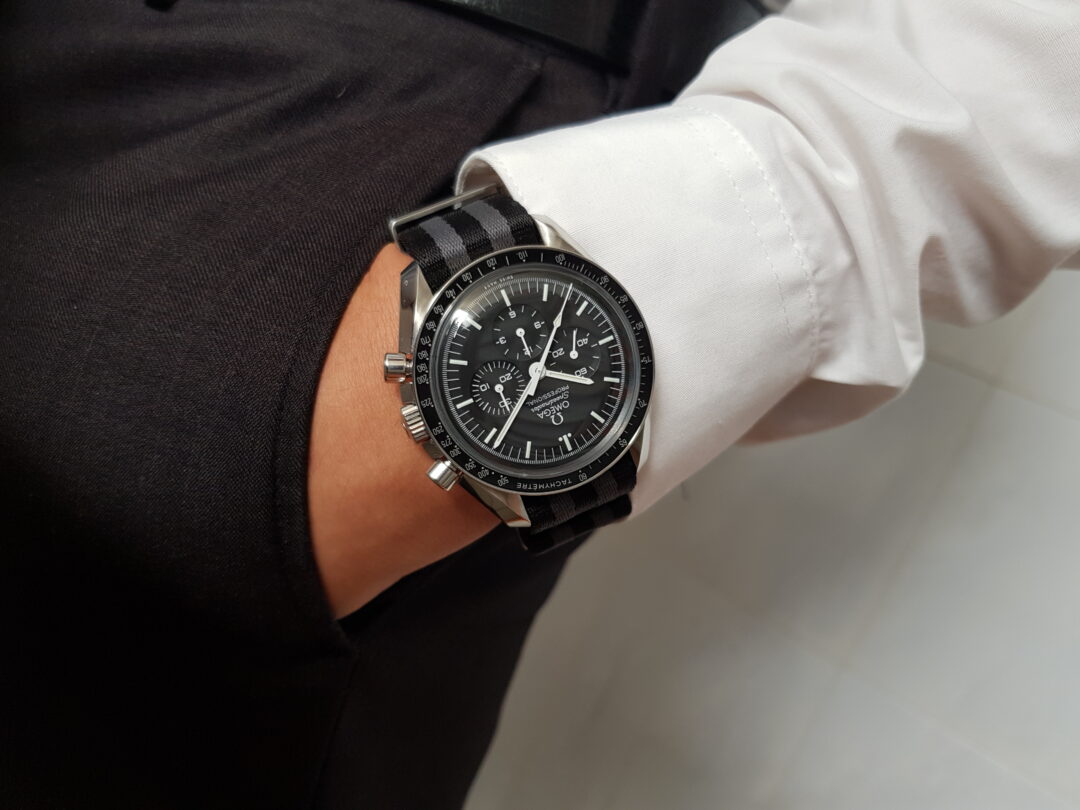
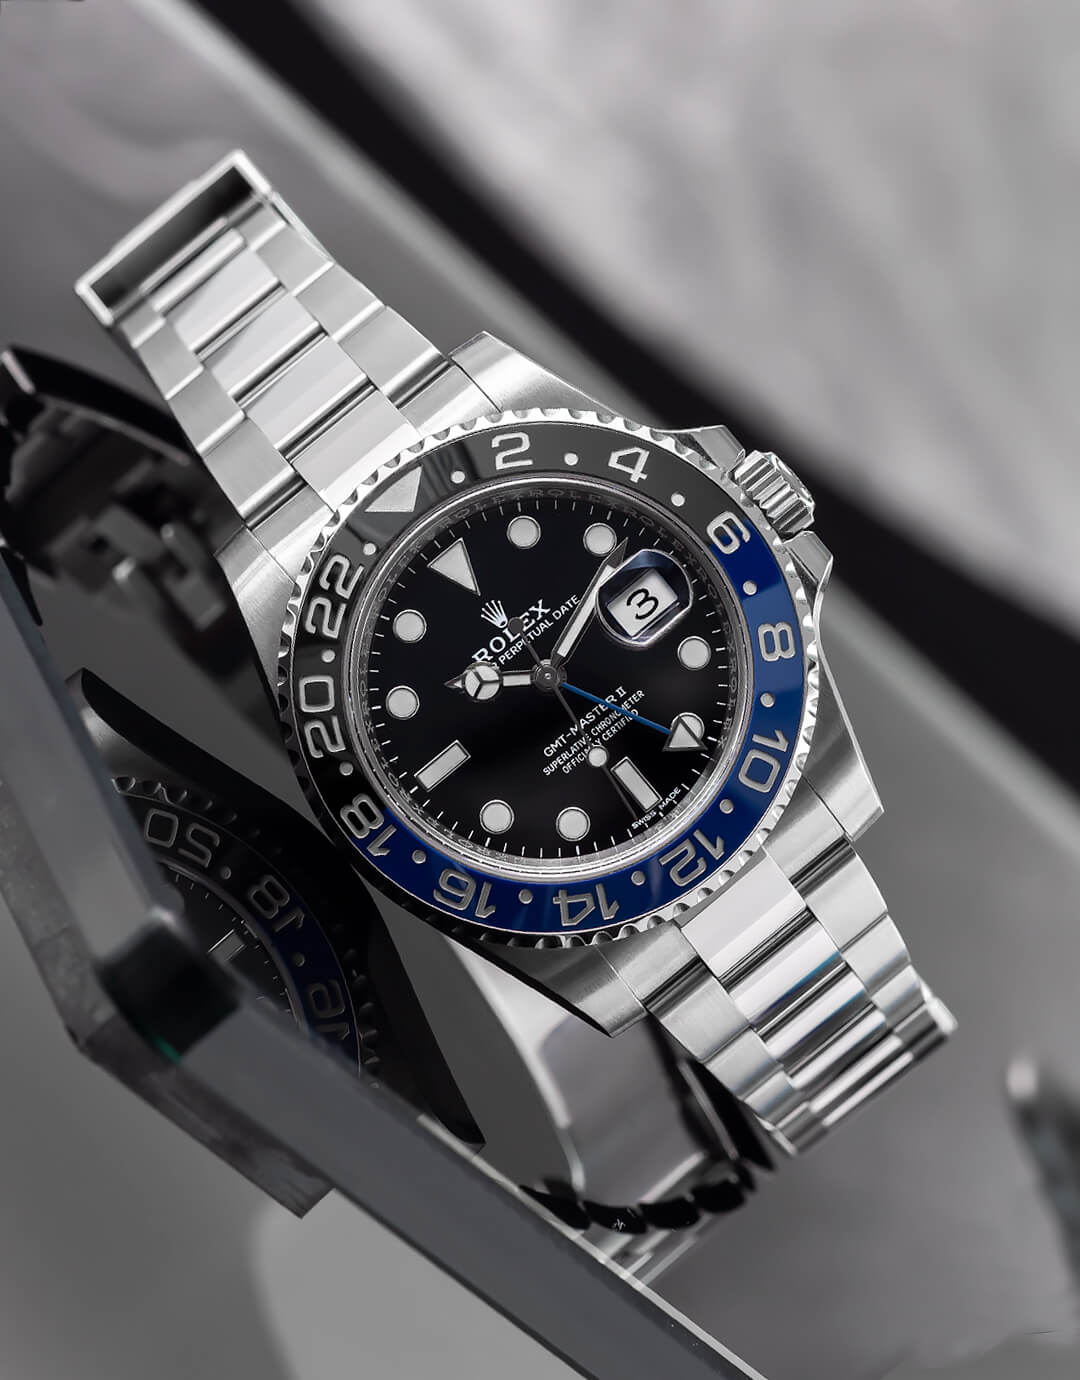

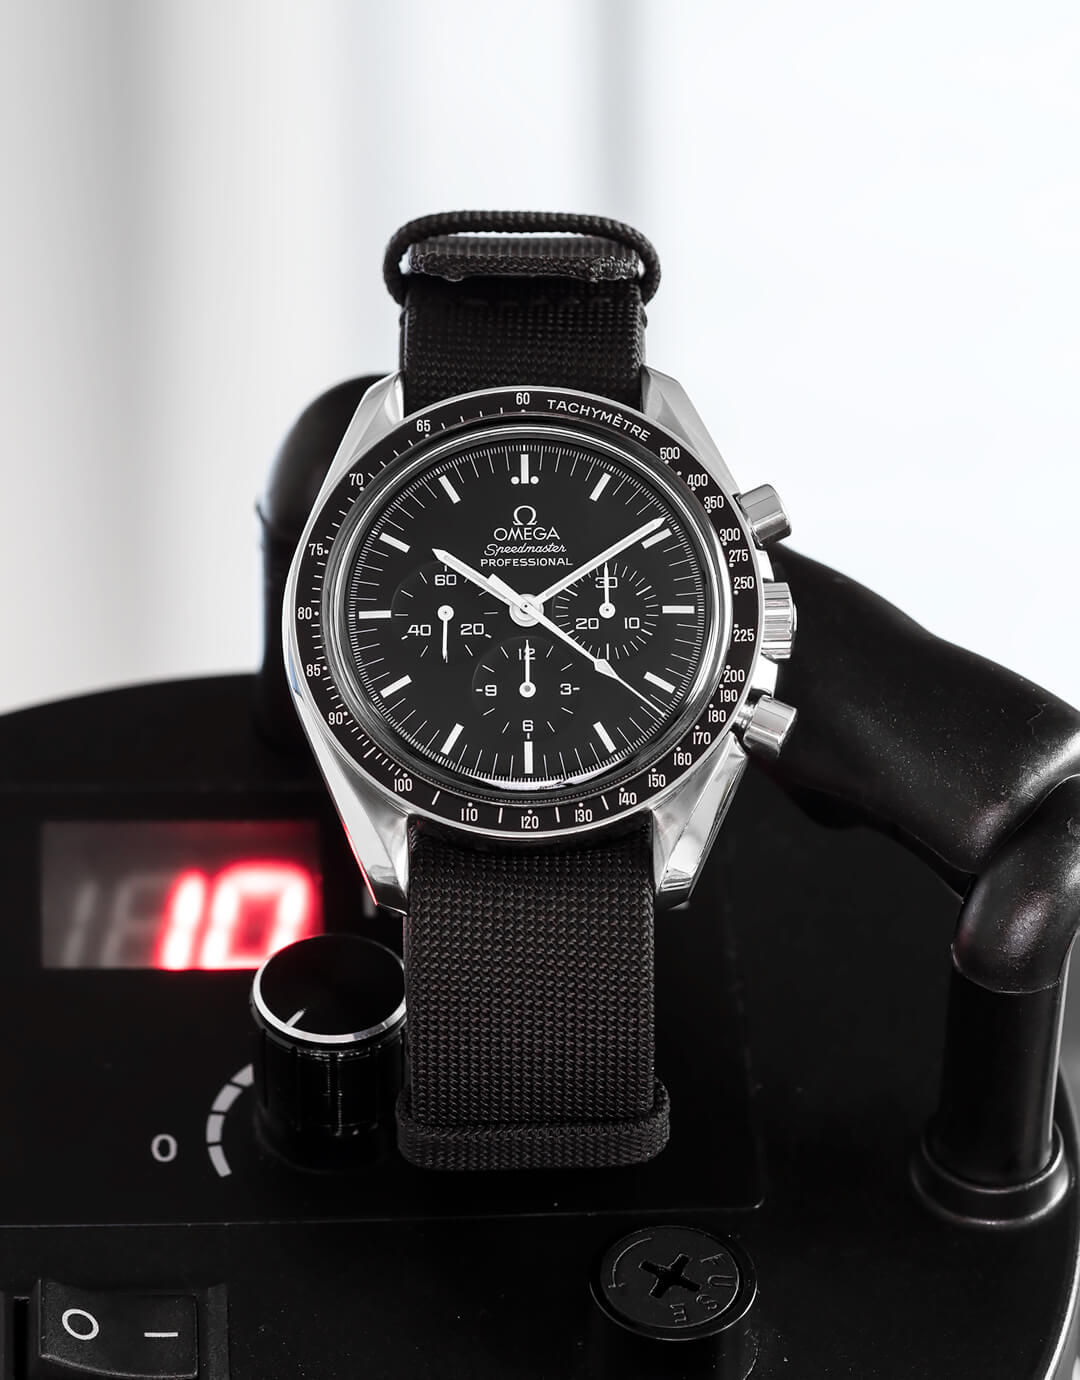
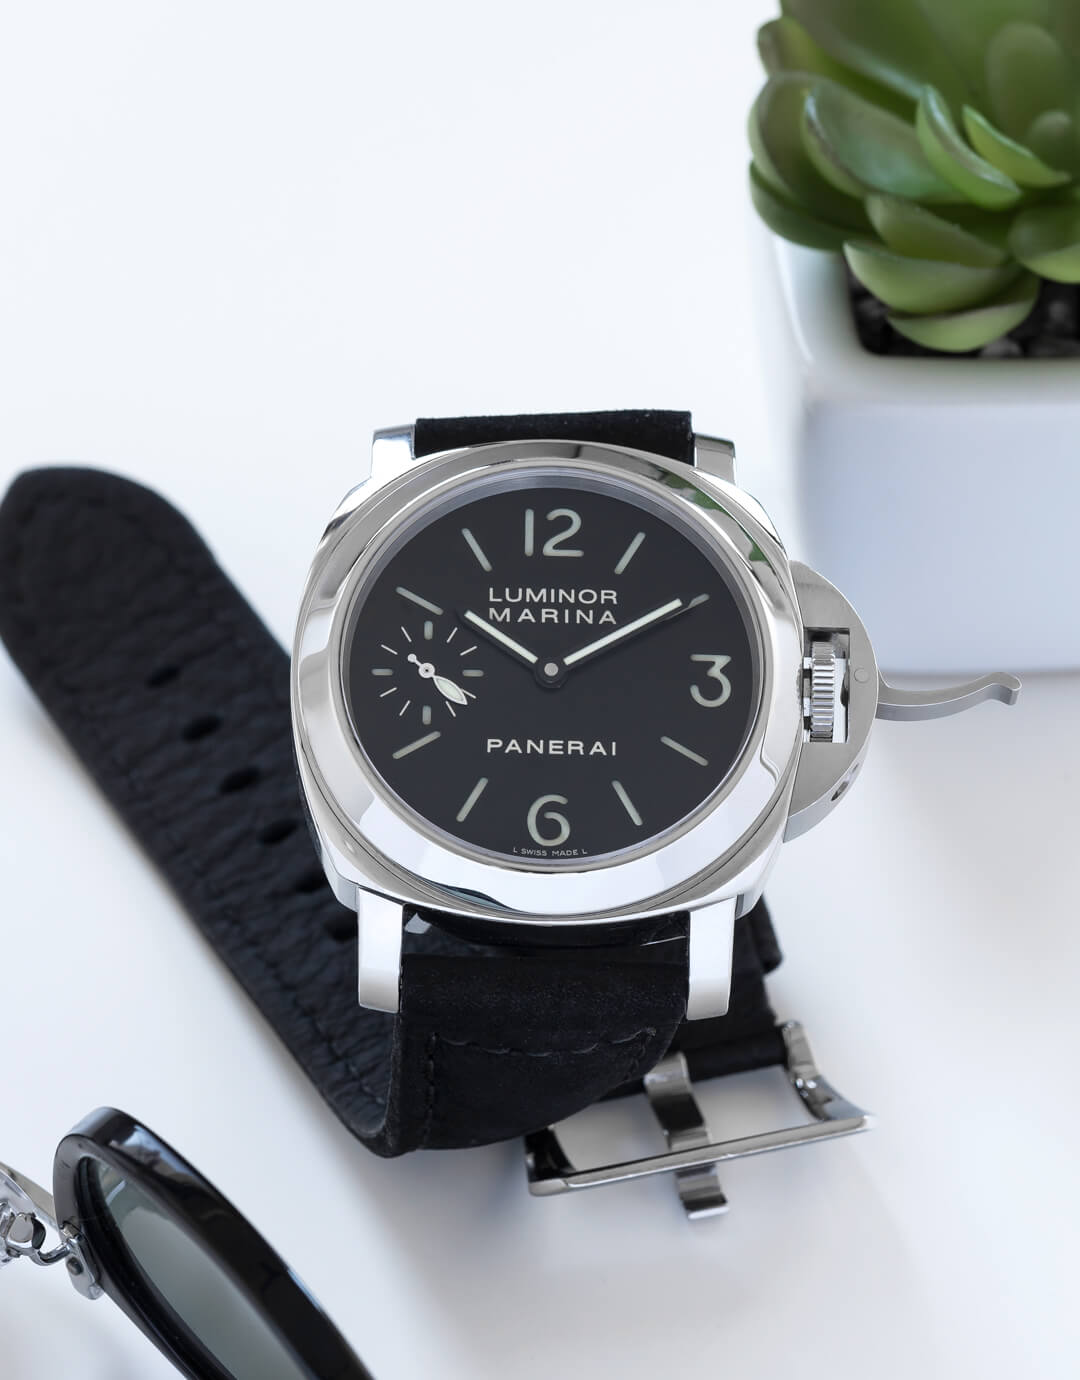
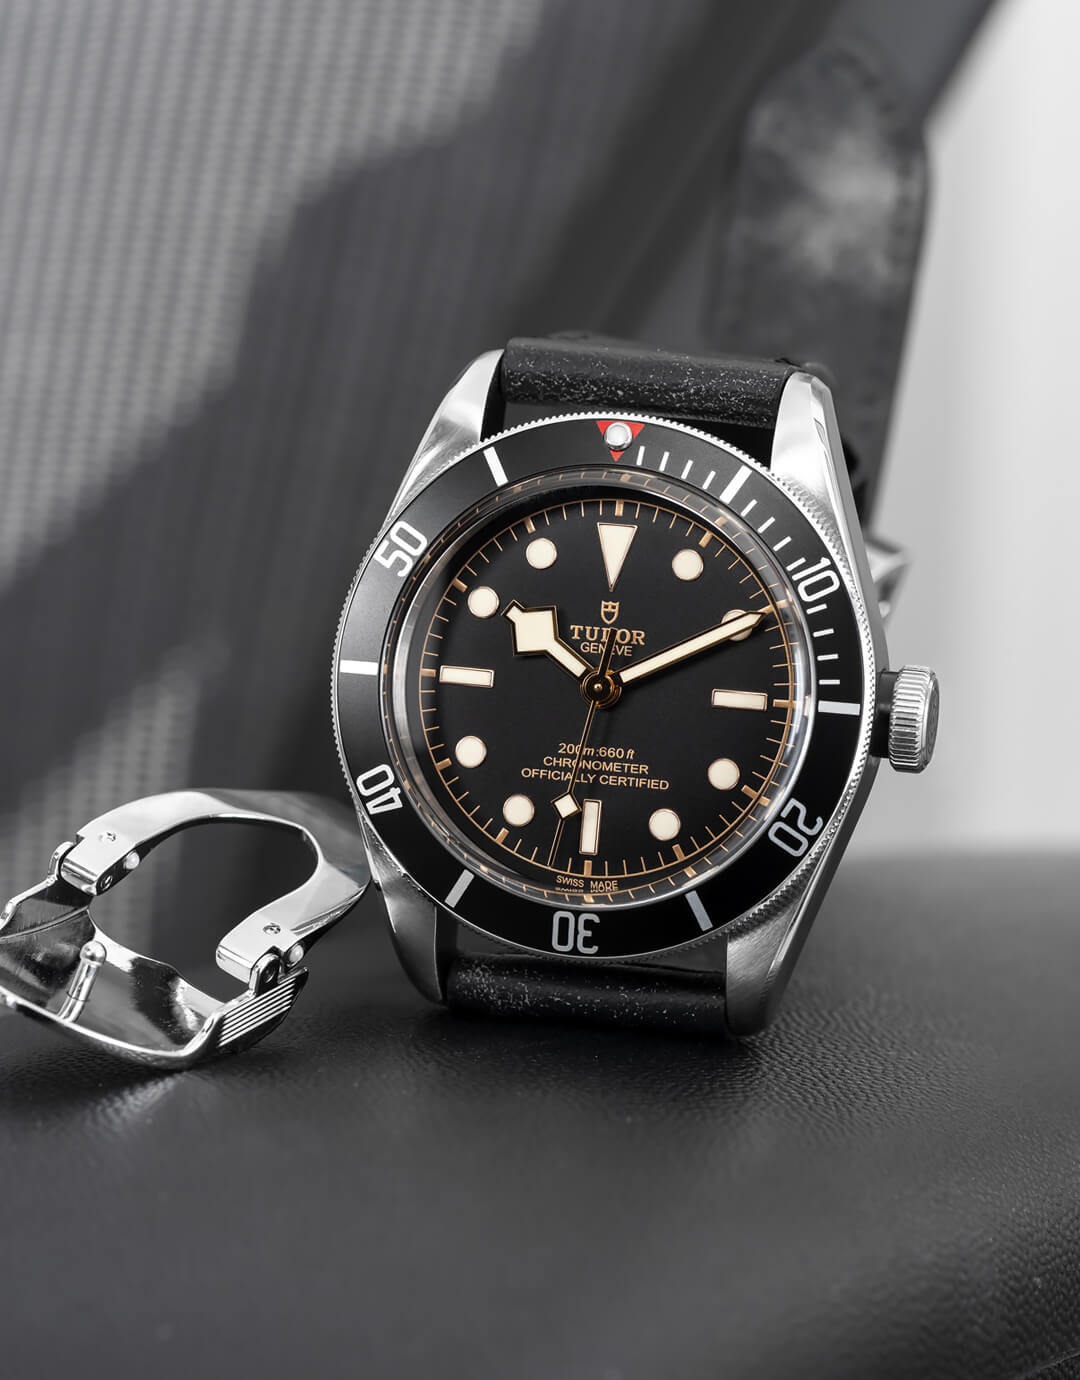

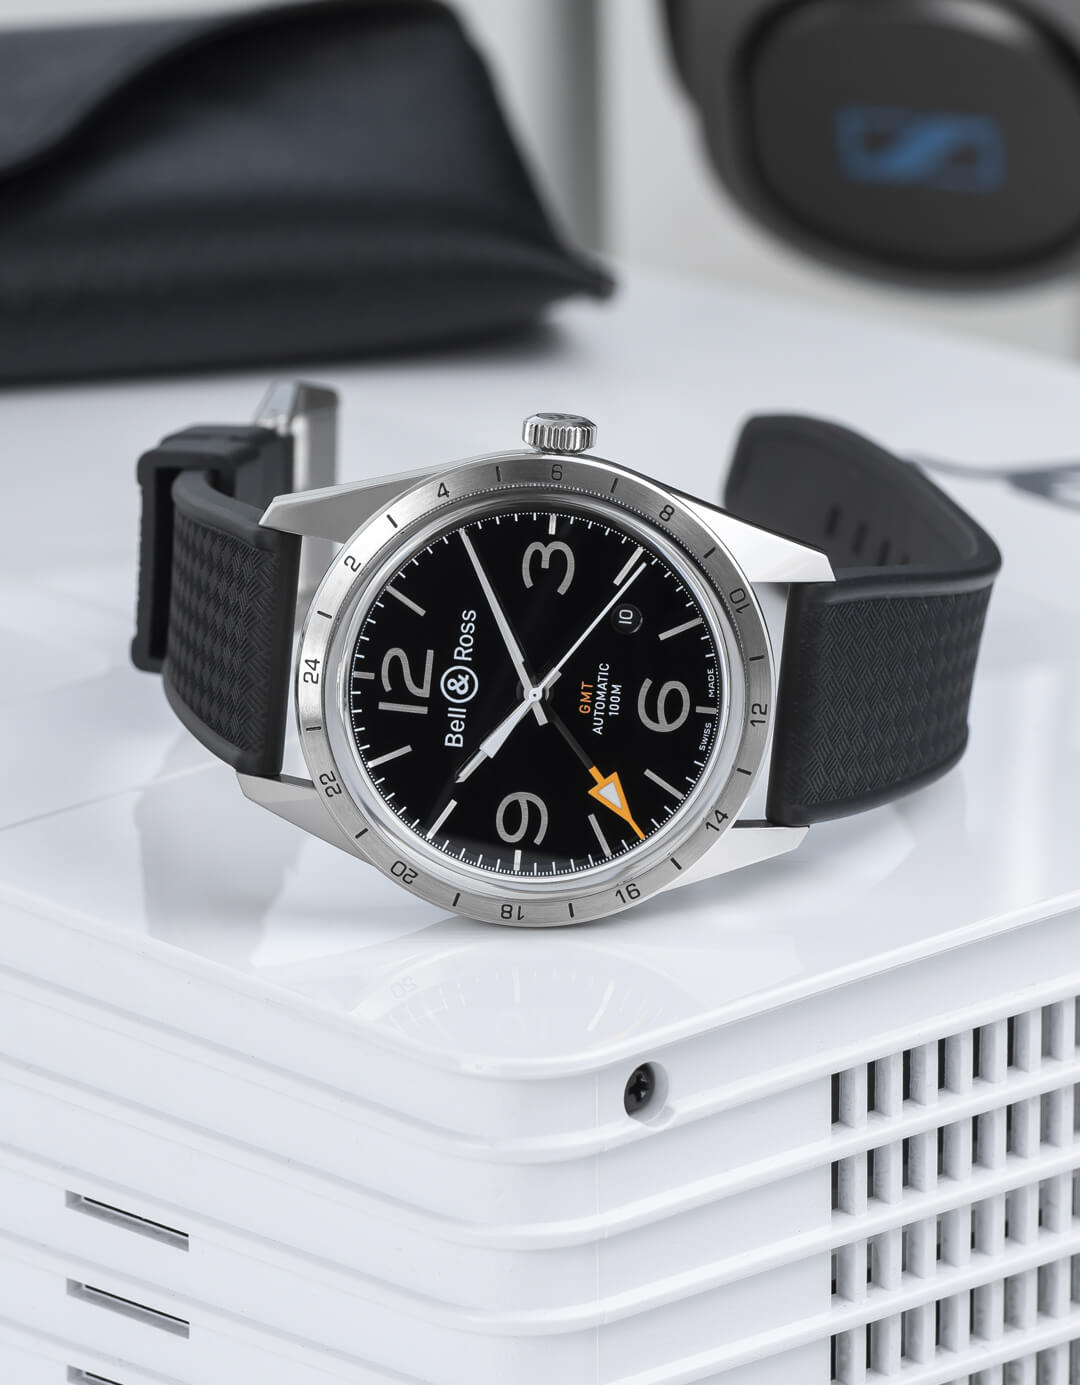
Above, you can see a few watches from my personal collection.
So, here we go!
1. Clean your watch… thoroughly
This is pretty much a no-brainer but it’s really one of the most importing things you have to consider before taking the shot. A watch will always look its best when it’s clean. Nobody wants to see greasy fingerprints on the dial and tons of dust everywhere.
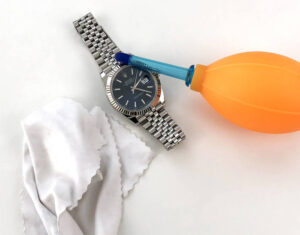
Depending on the watch (and the amount of dirt) cleaning can range from actually giving it a proper wash with some light dish soap & clear water (make sure the watch is water resistant of course) to just lightly wiping it with a micro-fiber cloth and giving it a few puffs with a lens pump to get rid of the dust.
You’ll thank yourself later in the process.
2. Make lighting your best friend
When it comes to photography light is everything. Regardless if you’re shooting on a phone or on some expensive camera, the lighting will always make or break your photo.
You don’t need artificial light sources, just find a well-lit corner in your house, e.g. next to a window. But here’s the catch: you have to diffuse the light and make it soft.
Bright, direct light will create harsh shadows and the watch won’t be evenly lit. To diffuse the light use what you got a hand. You can put up window blinds, a white t-shirt, a shower curtain, pieces of paper etc.; anything which will spread the light evenly. Ok, you can get a photo tent or a softbox, but you can achieve the same results by surrounding the watch with plain white paper out of your printer. The softer the light, the nicer the photo.
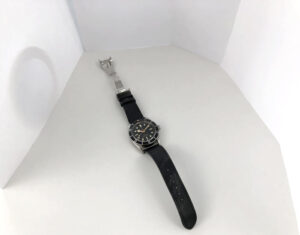
3. Get rid of unwanted reflections
Let’s face it, a watch is a very complicated object to photograph. You have different materials, different types of surfaces/textures (polished, brushed) and, most of all, that crystal over the dial which can turn into a nightmare real quick.
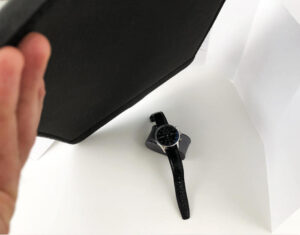
How to make the dial look good? Easy, use objects to bounce light on or off the dial – e.g. a black surface (I usually use my black laptop sleeve) to cast a shadow on the dial; or a white light bouncer to add direct light if the dial is too dark. It’s such an easy trick, but it works so well. You can play around and just partly cover the dial and get that nice “flecto”.
4. Make it sharp
This usually boils down to a couple things. How you adjust the settings in your camera and how stable you can hold the camera while taking the shot.
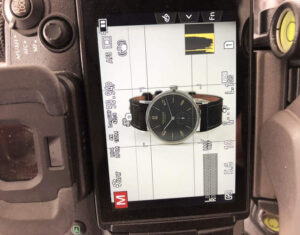
We’re not going into very specific settings here because those vary based on the type of equipment you use. The rule of thumb is to have at least the entire watch case in focus.
On a camera, try avoiding aperture stops lower than F2.8. Having a low F-stop will decrease the size of the focus point and you’ll end up with parts of the dial or bezel being out of focus. I usually shoot at F5.6 which is more than enough to have the entire watch super sharp and it also gives it a subtle depth of field (bokeh!). Again, it depends on the type of camera/lens you use.
How do you hold the camera steady? The easiest way is to use a tripod. Any tripod will do. Some prefer to shoot handheld, but my hands are so shaky so the tripod is the only way to get the sharp shots I want.
Using a tripod gives you a couple more advantages. Firstly, you can lower your ISO, thus reduce any camera noise on the image. I shoot at ISO 100; lower ISO, less grain, sharper photos.
Secondly, you can delay the shutter by either using a built-in delayed shutter function or using a remote control (external or your phone app, if the camera supports it) to avoid any shake caused by actually pressing the button on the camera.
Also, I always recommend anyone who has the option, to shoot in RAW format. More on this in a bit.
5. Clean the watch “in post”
No matter how thorough you are in cleaning the watch, there’s always going to be some nasty dust particle making its way into the photo.
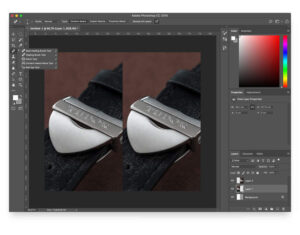
What I do, I use apps like Photoshop/Lightroom or Snapseed (on the phone) to get rid of those using the so-called, Spot Healing Brush. Basically, you’re just going over those annoying spots, click/tap and they magically disappear.
This also works well for tiny scratches or pretty much anything you want to get rid of in the frame.
If you’re more comfortable with Photoshop, you can use the Clone brush to fix a larger area, e.g. scratches on a bracelet.
6. Post process settings
It’s always a good idea to get the shot right in camera, but that doesn’t always work out.
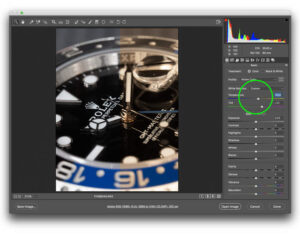
Take white balance for example. Unless you set the white balance (WB) beforehand, in camera, chances are that the automatic WB of the camera will get it wrong and yield your image either too warm or too cold. It happens.
Worry not, shooting in RAW gives you the flexibility to adjust almost all lighting settings after you get the shot (without a loss in quality). Don’t like the WB, drag a slider and boom, it’s corrected. Is your image over/underexposed? There’s a slider for that too. You’ll be surprised how much you can get out of the image in post.
A trick I use sometimes is to select the watch and desaturate certain parts, so it doesn’t show off some unwanted ambient colors – e.g. a steel case might look too yellowish, reddish and I want it to look, well, like steel, grey.
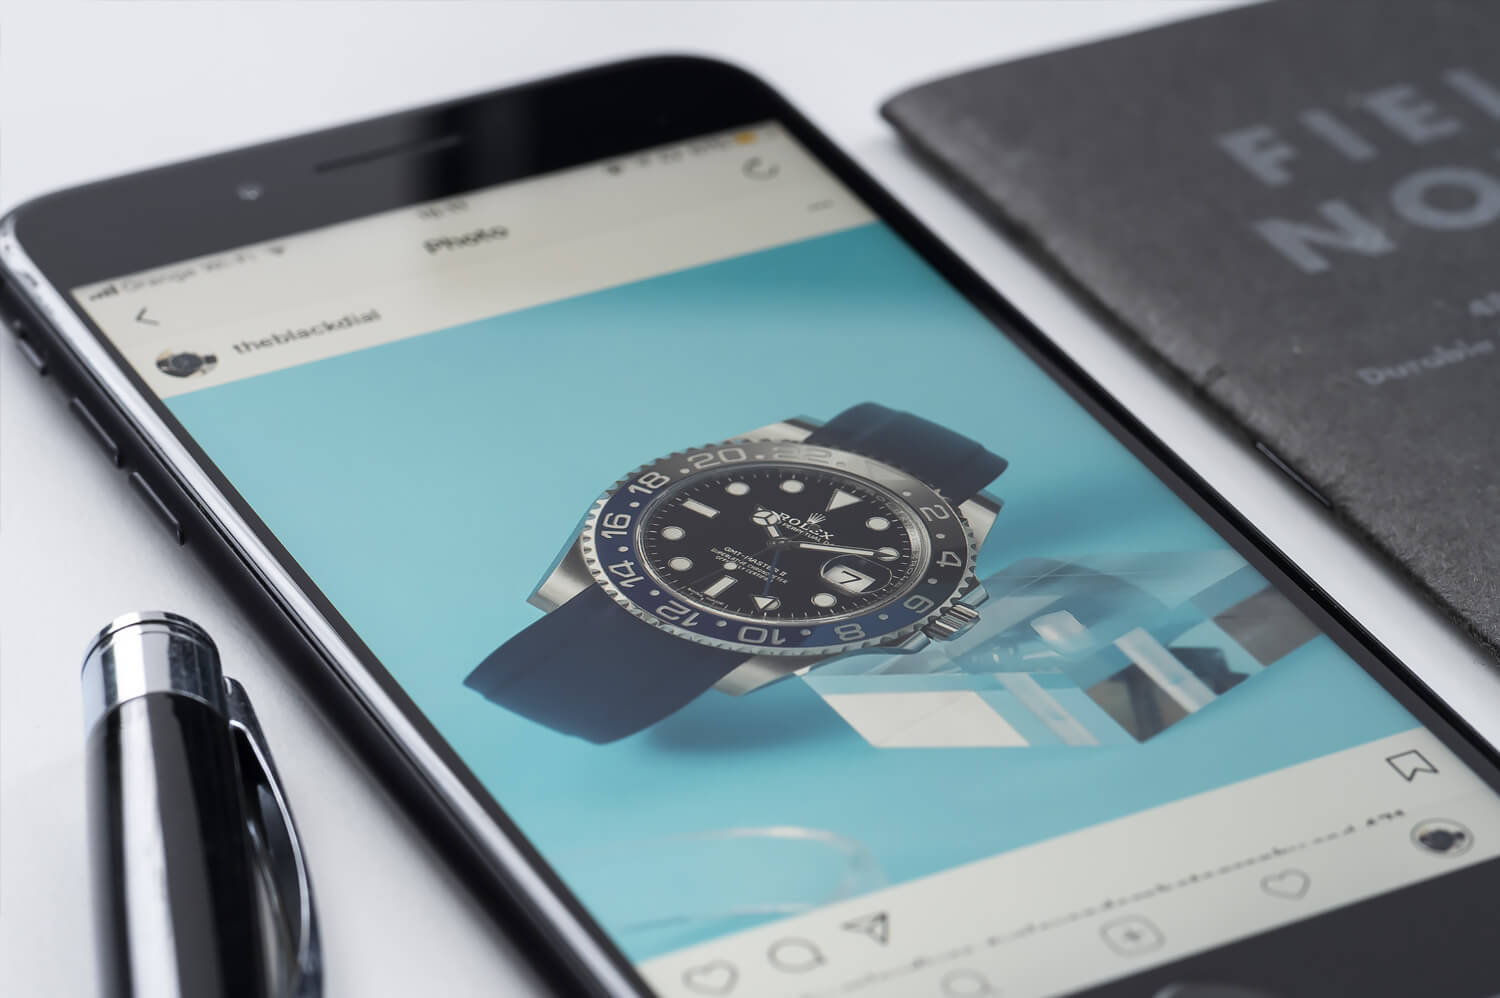
7. Export your image
Instagram has a weird compression algorithm which can ruin a perfectly good image just by uploading it. It’s not so much of a worry if you’re shooting on a phone, but it can become frustrating if you upload a nice, clean photo, taken on a camera and the quality gets degraded for no apparent reason.
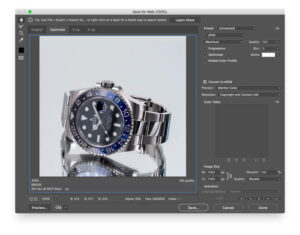
There’s a simple fix. Do the resizing of the image to the exact size of your Instagram post: 1080x1080px (rectangle) or 1080×1380 (portrait). It’s also a good idea to keep the file size under 1MB when exporting. This way you trick the compression algorithm to leave the photo alone.
Bonus tip: I prefer to use the larger portrait size because it will cover more of the phone’s screen real-estate on the Instagram feed, increasing your chances you get more likes. 😉
8. Avoid editing in the IG app
Following up on the export settings, try to avoid doing any last minute adjustments in the IG app itself (like adding sharpness, tweaking contrast etc). This can, not always, lead to Instagram recompressing the image and, therefore, in a loss in quality.
9. Remember to have fun!
A lot of the things I mentioned above can sound scary or overwhelming to somebody who’s just starting out photographing watches. So don’t worry if you’re not getting the best results right away. Like anything, it takes a lot of practice. Took me 300 shots to realize how to get rid of reflections.
Just remember to have fun. You’re on the platform for the love of watches and sharing your passion with like-minded individuals. The community is the main reason you want to be on Instagram and shooting watches, not the quality of the photos.
Happy shooting and look forward to seeing your awesome shots!
Thanks for making it this far. Should you have any questions, drop a comment below and I’ll be happy to answer.
About the author: Max is a watch collector and hobby photographer in his mid-thirties. He started his journey into watches based on his love for design (which he built his career in). He is currently splitting his time between Europe & the United States where he works as Director of Design for a Growth Services company specialized in online businesses. You can follow Max’s Instagram account